
Microsoft Teams is one of the go-to applications for communication, cooperation, and productivity. The app has grown tremendously over the last few years and is now being used in offices and homes around the world. One of the most prominent features of Microsoft Teams is the ability to make video calls and display your video during meetings.
Sometimes, this function will run into problems. Lately, I’ve been contacted by clients whose video option is greyed out when they are in teams meetings. This renders their camera useless, as they can’t activate the function in Teams. In this article, we’re going to take a look at what you can do to fix this issue.
Try these fixes:
- Reconnect the Camera
- Set the Right Camera in Teams
- Allow Camera Access In Your Browser
- Allow Teams To Use Your Camera
- Enable the Camera On Your Device
- Update or Reinstall the Camera Drivers
- Close Other Applications
- Verify the Camera
- Clear the Teams Cache
- Allow Video Calls In Your Tenant (Admin)
- Update Microsoft Teams
- Reinstall Microsoft Teams
- Register the Camera Using PowerShell
The links will take you to the section of the article where we describe how to apply the fix in greater detail. I recommend starting from the top and scrolling down the list, trying one fix at a time then verifying if it fixed your issue.
1. Reconnect the Camera
For those using an external camera, unplugging the camera can fix the issue. You should also make sure to try another USB port, as the current one might be malfunctioning, which prevents the computer from registering the camera.
Do this:
Step 1: Close Teams (Make sure to shut down the application completely).
Step 2: Unplug the camera and reconnect it.
Step 3: Launch Teams again.
Step 4: Join a call to see if the camera can be displayed.
2. Set the Right Camera in Teams
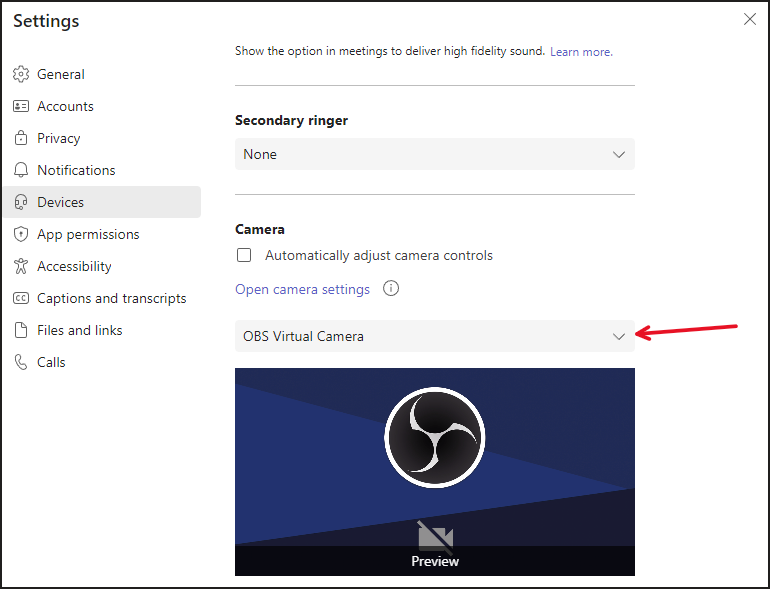
The wrong camera might be set in Teams, and this can happen without you changing anything manually. For instance, I’m running OBS, which is a tool for me to record my screen and stream, and Teams has set that as my camera, for no obvious reason. As long as OBS is set as my camera, I can’t display video in calls.
Here’s how to check if you’ve got the proper camera set as your default camera in Teams.
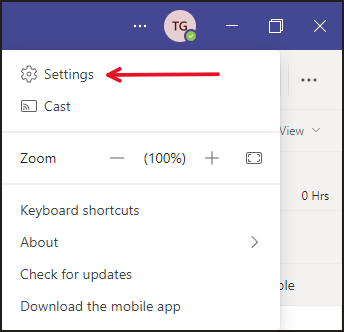
Step 1: Click the three dots in the upper-right corner next to your initials in Teams.

Step 2: Click Settings.
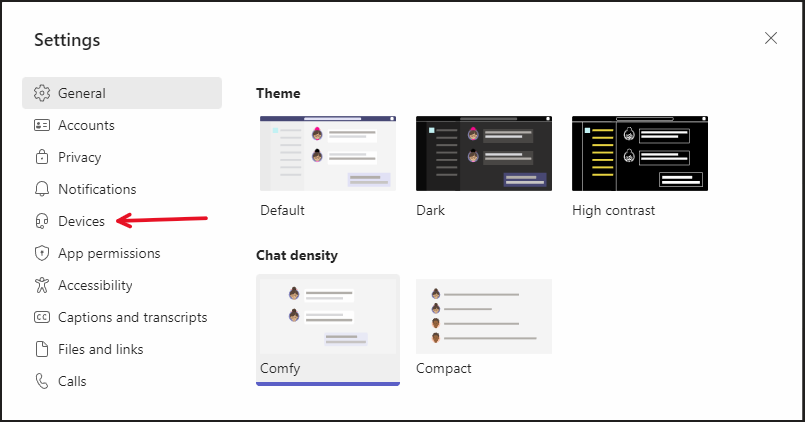
Step 3: Click Devices.
Step 4: Scroll down to Camera and make sure the correct camera is set as your default camera in Teams.
3. Allow Camera Access In Your Browser
If you’re accessing Teams via Chrome, Edge, or any other browser, you need to allow the browser you access your camera. Otherwise, you won’t be able to display video in your Teams meetings.
Here’s how to do it in Chrome.
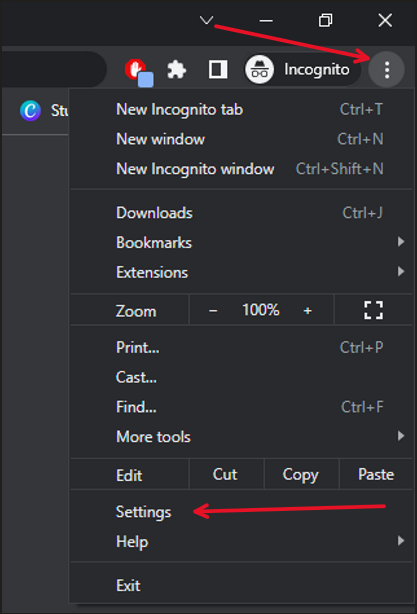
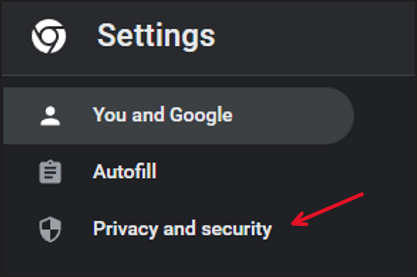
Step 1: Click the three dots in the upper-right corner then select Settings.
Step 2: Go to Privacy and Security.
Step 3: Go to Site Settings.
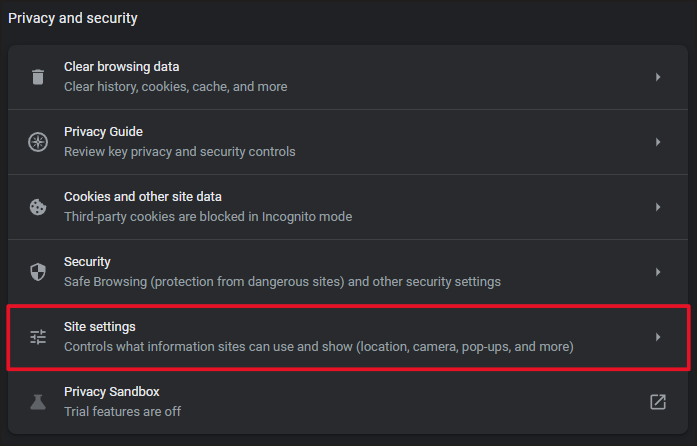
Step 4: Scroll down & select Camera.

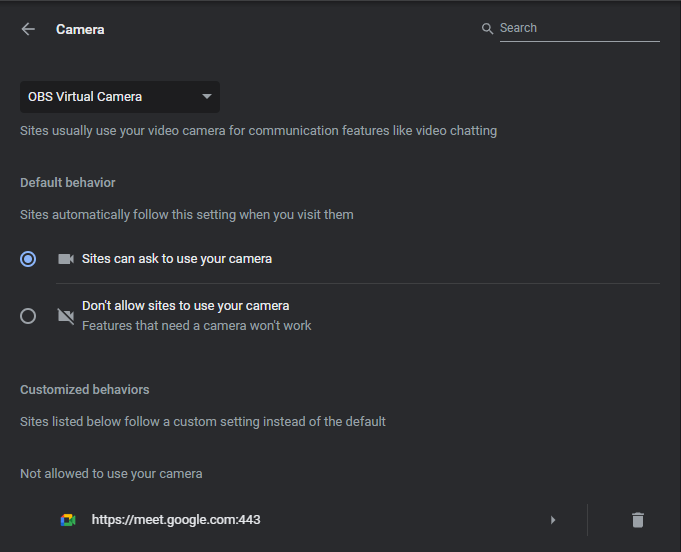
Step 5: Set the right Camera.
Step 6: Set the default behavior (Allow sites to ask for permission)
Step 7: Make sure Teams isn’t on the list of blocked websites.
4. Allow Teams To Use Your Camera
In order to display video in Teams, you need to allow the application to use your camera. This can be done from within Windows. Even if your computer has allowed Teams to use the camera in the past, an update might’ve changed that, so it’s always worth checking. Here’s how.
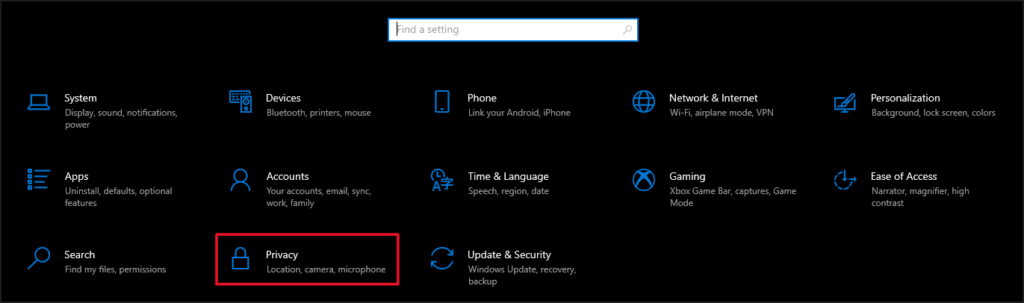
Step 1: Right-click the start menu in Windows and select settings.
Step 2: Go to Privacy.
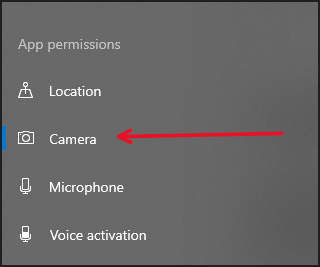
Step 3: Go to Camera on the left-hand side.
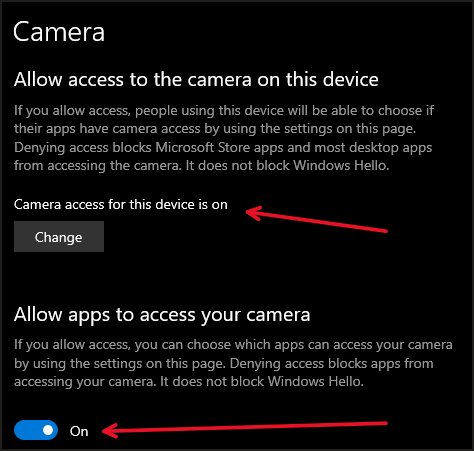
Step 4: Make sure Allow access to the camera on this device and Allow apps to access your camera are turned on.
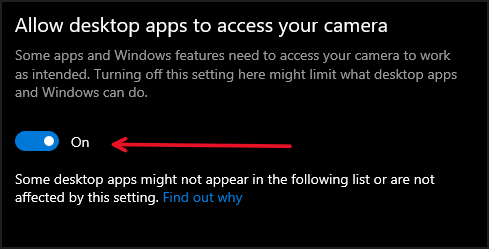
Step 5: Scroll to the bottom of the page and check if Allow desktop apps to access your camera is on.
Step 6: If Microsoft Teams is listed among the apps in the Choose which Microsoft Store apps can access your camera, make sure it’s turned on.
5. Enable the Camera On Your Device
Your camera might be disabled, preventing you from using it in Teams. The camera might’ve been disabled by accident or as a result of an update. It’s hard to tell what could’ve disabled it. Regardless, enabling it shouldn’t be a difficult task.
Start by checking if your computer has an on/off button for the camera. This might be a button or a slide/switch located on the side of your computer. Otherwise, enable the device from the Device Manager.
Step 1: Right-click the Windows start menu.
Step 2: Select Device Manager
Step 3: Look for Camera in the list of devices then expand the Camera item.
Step 4: Your camera(s) should be showing here. Right-click the camera you want to use and select Enable Device.
6. Update or Reinstall the Camera Drivers
Hardware drivers tend to fix problems, so they’re always worth looking for when you’re running into problems with a certain component in your computer. This time, we’ll be looking at updating or reinstalling your camera drivers, as this has proved to fix the issue for many users we’ve helped.
Before we begin: Write down the name of your camera or computer model. If you have a computer with an internal camera (laptop, most likely) then write down the computer model. If the camera is external, write down the name of the camera – both brand and model.
Step 1: Right-click the Windows start menu.
Step 2: Select Device Manager.
Step 3: Look for Cameras in the list of devices then expand the option by pressing the arrow on the left-hand side.
Step 4: Your camera(s) should be showing here. Right-click the camera you intend to use and select Uninstall Device.
Step 5: Go to the manufacturer’s website and download the most recent drivers for your product.
Step 6: Install the files that you downloaded.
Step 7: Restart the computer if prompted to.
Step 8: Try your camera in Teams.
7. Close Other Applications
If your camera option stays greyed out after all these changes, then it’s time to close other applications running both in the fore and background as they may interfere with both the camera and Teams itself. Start closing applications that might cause interference and check Teams while doing it.
You might need to restart Teams for the camera option to be viable again. Close a couple of apps then start Teams. If that didn’t do the trick, close Teams and continue closing apps then start it back up again.
If you find the app that might be causing the problem, make sure to take note of which app it is. You can even shut down autostart for that specific app so that it doesn’t launch automatically when your computer is started.
8. Verify That the Camera Works
It might turn out that Teams isn’t the problem, but the camera itself. Teams could be restricted from using the camera because the device is defective. Thankfully, there are simple to tell if the problem is bound to Teams or if the camera can’t be detected elsewhere in Windows. For this, we’ll be using the camera app.
Step 1: Search for the Camera app using the Windows search bar.
Step 2: Verify that the camera can display video. Is the display black? Is no camera detected?
If so, your camera might be running into bigger problems than just Teams.
9. Clear the Teams Cache
Your Teams cache, which stores a bunch of byproducts of your Teams usage, can sometimes cause discrepancies in the application. Deleting the cache’s contents is a go-to fix for several problems in Teams.
Once emptied, the cache will start populating with new files once the application is started and used again.
Step 1: Browse to the cache’s default location (C:\Users\<your_windows_username>\appData\Roaming\Microsoft\Teams.) in File Explorer.
Step 2: If you can’t find the AppData folder – click the View tab in File Explorer and check the “Hidden Items” box then continue browsing the search path above all the way to the Teams folder.

Step 3: Once you’ve found the Teams folder, right-click it and select Delete.
Step 4: When prompted if you want to delete the folder, click Yes.
Step 5: Search for Teams using the Windows search bar and start the application.
10. Allow Video Calls In Your Tenant (Admin)
If you’re an admin or have one at your disposal. Make sure video calls haven’t been disabled from the Meeting Policy in your tenant’s Teams administration center.
Access the administration center by going to Office.com and signing in. You must be signed into an account with admin rights in order to see the administration center once logged in.
Step 1: Open up the admin center.
Step 2: Click Show All at the bottom of the list on the left-hand side.
Step 3: Go to Teams Administration Center.
Step 4: Go to Meetings.
Step 5: Go to Meeting Policies.
Step 6: Open Org-Wide Global Policies.
Step 7: Scroll down to the Audio / Video section and make sure video is enabled.
11. Update Microsoft Teams
Ensuring that you have updated the software to the most recent version can also fix the problem. You can update the application from within Teams by doing the following.
Step 1: Open up the desktop application
Step 2: Click the three dots in the upper-right corner next to your initials.
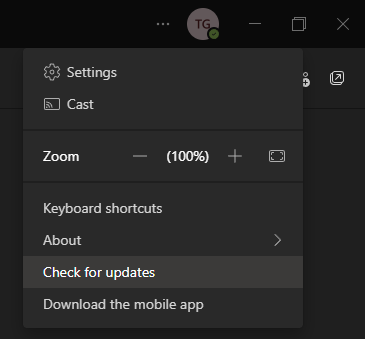
Step 3: Click Check for updates. Teams will look for the latest software updates and update the application automatically.
Step 4: Restart the application if you’re prompted to do so.
12. Reinstall Microsoft Teams
If none of the methods above have solved the problem, your next best bet is to reinstall the application on your computer. Reinstalling the app should ensure that any corrupt or damaged files are restored. Thankfully, reinstalling Teams is an easy task.
Here’s how to do it.
Step 1: Open the control panel by searching for the control panel using the Windows search bar.
Step 2: Select Programs and Features.
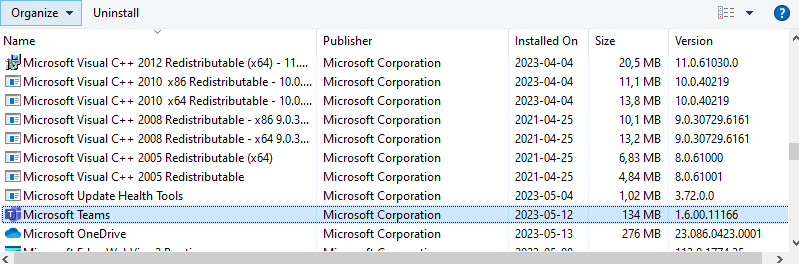
Step 3: Select Microsoft Teams in the list and click Uninstall.
Step 4: Download Teams from Microsoft (Link to Microsoft.com).

Step 5: Choose between the options below.

Step 6: Launch the installation file that was downloaded.
Step 7: Once installed, sign in to your account.
13. Register the Camera Using PowerShell
You can re-register your camera as a Windows device using PowerShell in Windows. This could be what’s causing the problem. You’ll have to run PowerShell commands to fix this issue, but they’re not complicated at all.
Step 1: Right-click the Windows start menu.
Step 2: Select Windows PowerShell (Admin)
Step 3: Once PowerShell has opened. Copy and paste the following code into your PowerShell window then press Enter.
Get-AppxPackage -allusers Microsoft.WindowsCamera | Foreach {Add-AppxPackage -DisableDevelopmentMode -Register “$($_.InstallLocation)\AppXManifest.xml”}
Step 4: Close PowerShell and check if the camera is working as intended now.